Integrations: Stripe, Google Calendar, email
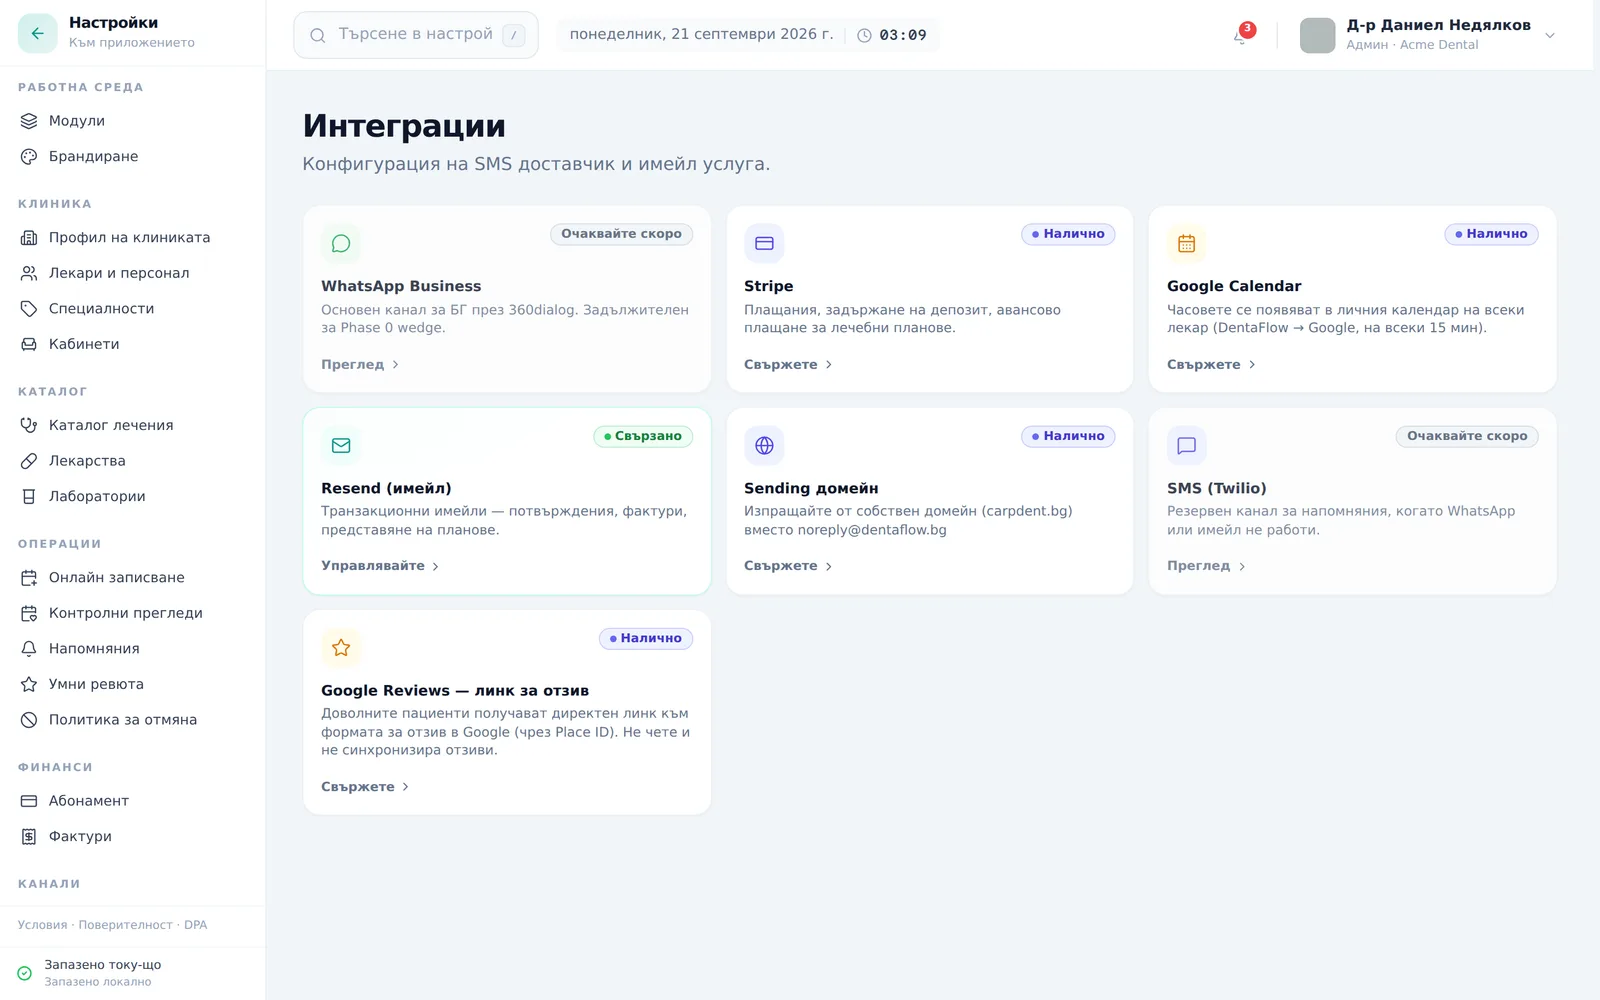
The Settings → Integrations (Настройки → Интеграции) section shows the clinic’s outside connections as cards with a status (Available („Налично“), Connected („Свързано“), Link active („Линк активен“) or Coming soon („Очаквайте скоро“)). Three of them are set up here: syncing each doctor’s schedule to Google Calendar, connecting Stripe for deposit payments, and a custom domain for outgoing patient emails. This guide covers setting each of them up; for actually sending a deposit link, see Deposit links. The app screenshots show the Bulgarian interface; every UI label gives the Bulgarian original in parentheses.
At a glance
- Google Calendar pushes each doctor’s appointments into their own personal Google account roughly every 15 minutes — one-way, from DentaFlow to Google only.
- Connecting Stripe needs a restricted API key from the clinic’s own Stripe account — only Admin can connect or disconnect it.
- A custom email sending domain (e.g. your-clinic.com instead of noreply@dentaflow.bg) goes through DNS record verification before it works.
- Until Stripe is connected, sending a deposit link fails with an error that points straight back to this section.
- The SMS card shows “Coming soon”: DentaFlow doesn’t send SMS or Viber messages automatically yet, and reminders go out by email. The ready-made Viber chat (opens a chat with the message ready, which your team sends by hand) works with no setup.
Syncing Google Calendar
- Open Settings → Integrations (Настройки → Интеграции), click the Google Calendar card and, in the panel that opens, turn on Google Calendar sync (Синхронизация с Google Calendar). The panel states the direction: DentaFlow → Google, every 15 minutes; importing from Google is still to come.
- Find the doctor under Doctor connections (Връзки на лекарите) and click Connect (Свържи).
- Complete Google’s consent screen in the browser tab that opens.
- Back in DentaFlow, the row shows a green “Connected” badge with the linked Google email and the last sync time (until the first sync it reads “awaiting first sync (up to 15 min)”). The Google Calendar card shows how many doctors are connected, e.g. “1 / 3 connected”.
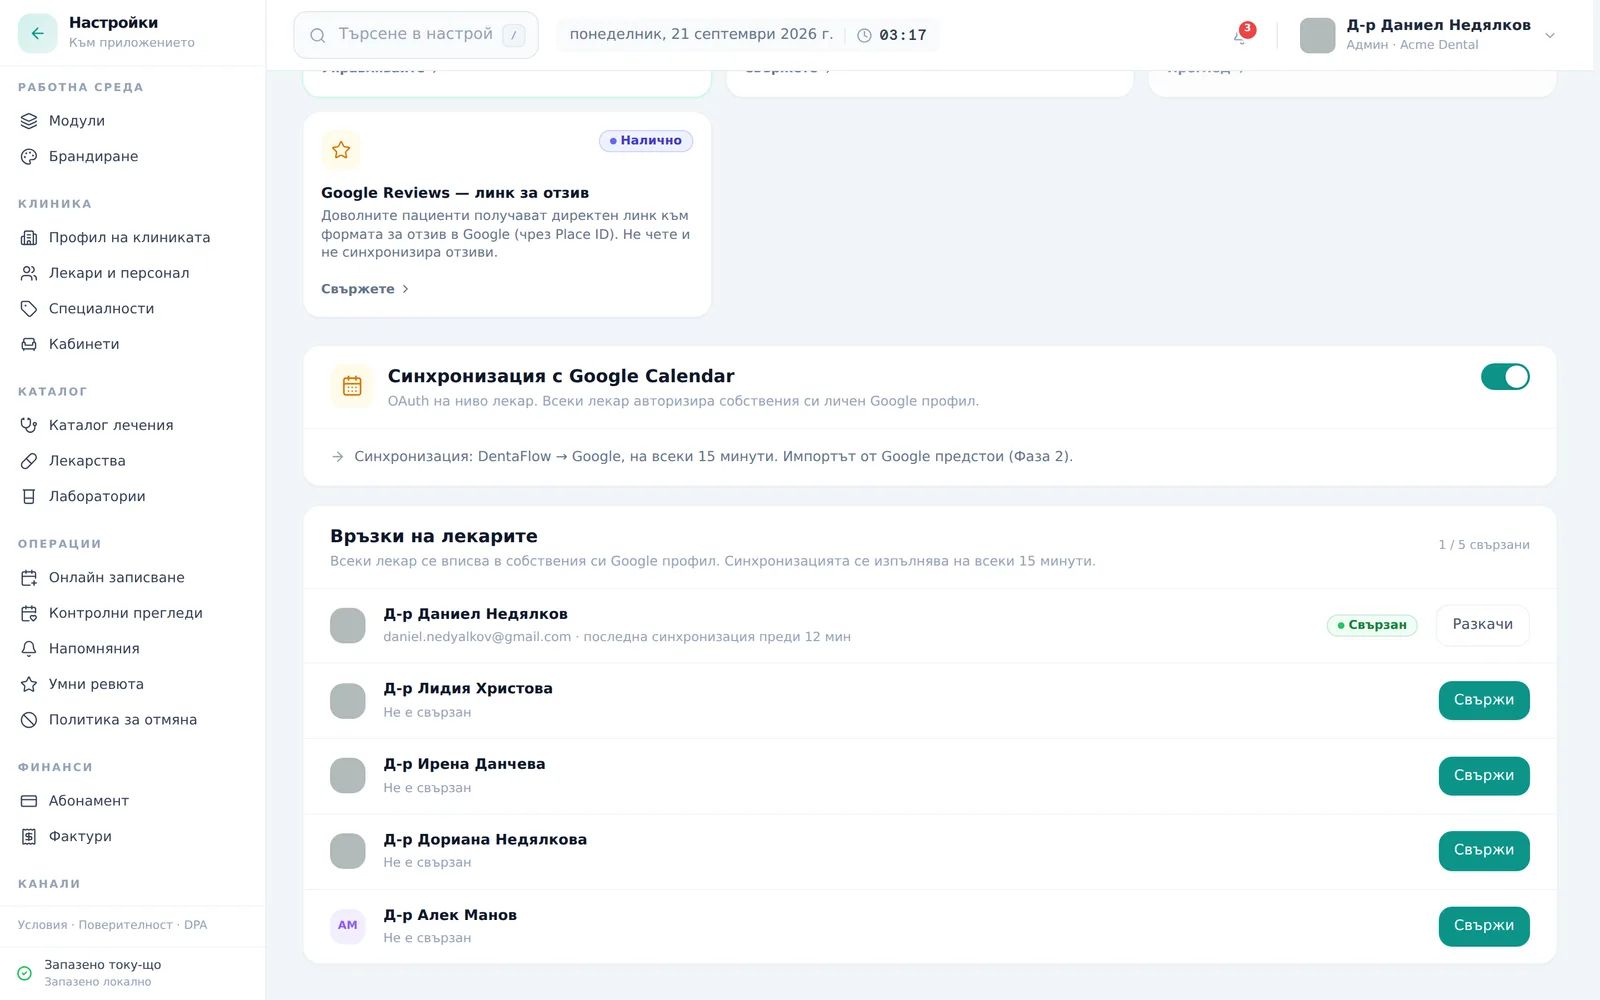
To disconnect, click Disconnect (Разкачи) next to the connected doctor — it confirms instantly and sync stops for them.
Connecting Stripe
- Open Settings → Integrations (Настройки → Интеграции) and open the Stripe card.
- Paste a restricted Stripe API key (
rk_live_…orrk_test_…) into the Stripe API key (restricted) (Stripe API ключ (restricted)) field. The key needs Payment Links (write), Products/Prices (write) and Checkout Sessions (read) scopes; Webhook Endpoints (write) is recommended so payments settle instantly instead of within 15 minutes. - Click Connect with Stripe (Свържи със Stripe).
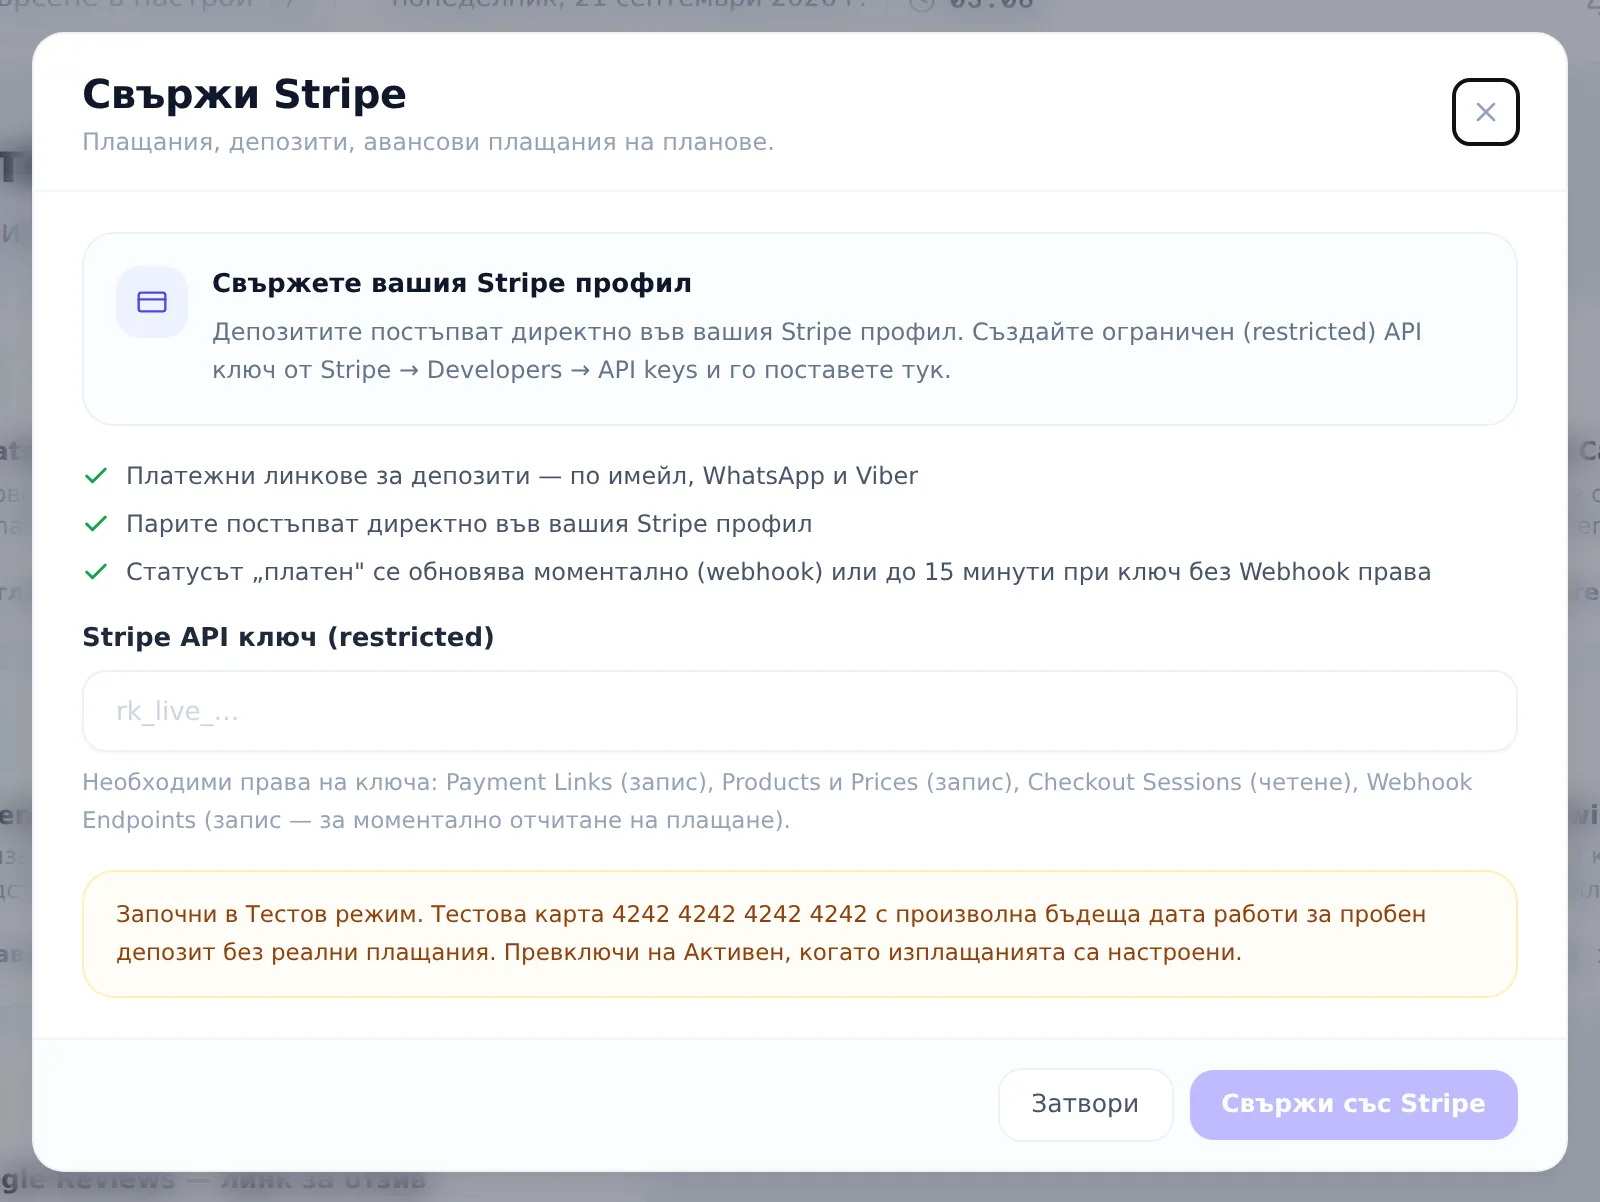
Only Admin can connect or disconnect Stripe — the action is visible to other roles in the interface, but the server refuses it for anyone else. To disconnect, reopen the Stripe card while connected and click Disconnect (Разкачи) at the bottom of the modal.
Connecting here only prepares the clinic to send deposit links — sending an actual link to a patient (amount, currency, channel) is covered in Deposit links. Until Stripe is connected, trying to send a link shows “Stripe is not connected. Connect it from Settings → Integrations → Stripe…”.
Setting up a custom email sending domain
Only an Admin can register or disconnect a domain (the server refuses it for other roles).
- Open Settings → Integrations (Настройки → Интеграции) — the “Sending domain (Домейн за изпращане)” and “Resend (email) (Resend (имейл))” cards show the current status of outgoing email.
- Open the Sending domain (Домейн за изпращане) card and enter your domain (e.g.
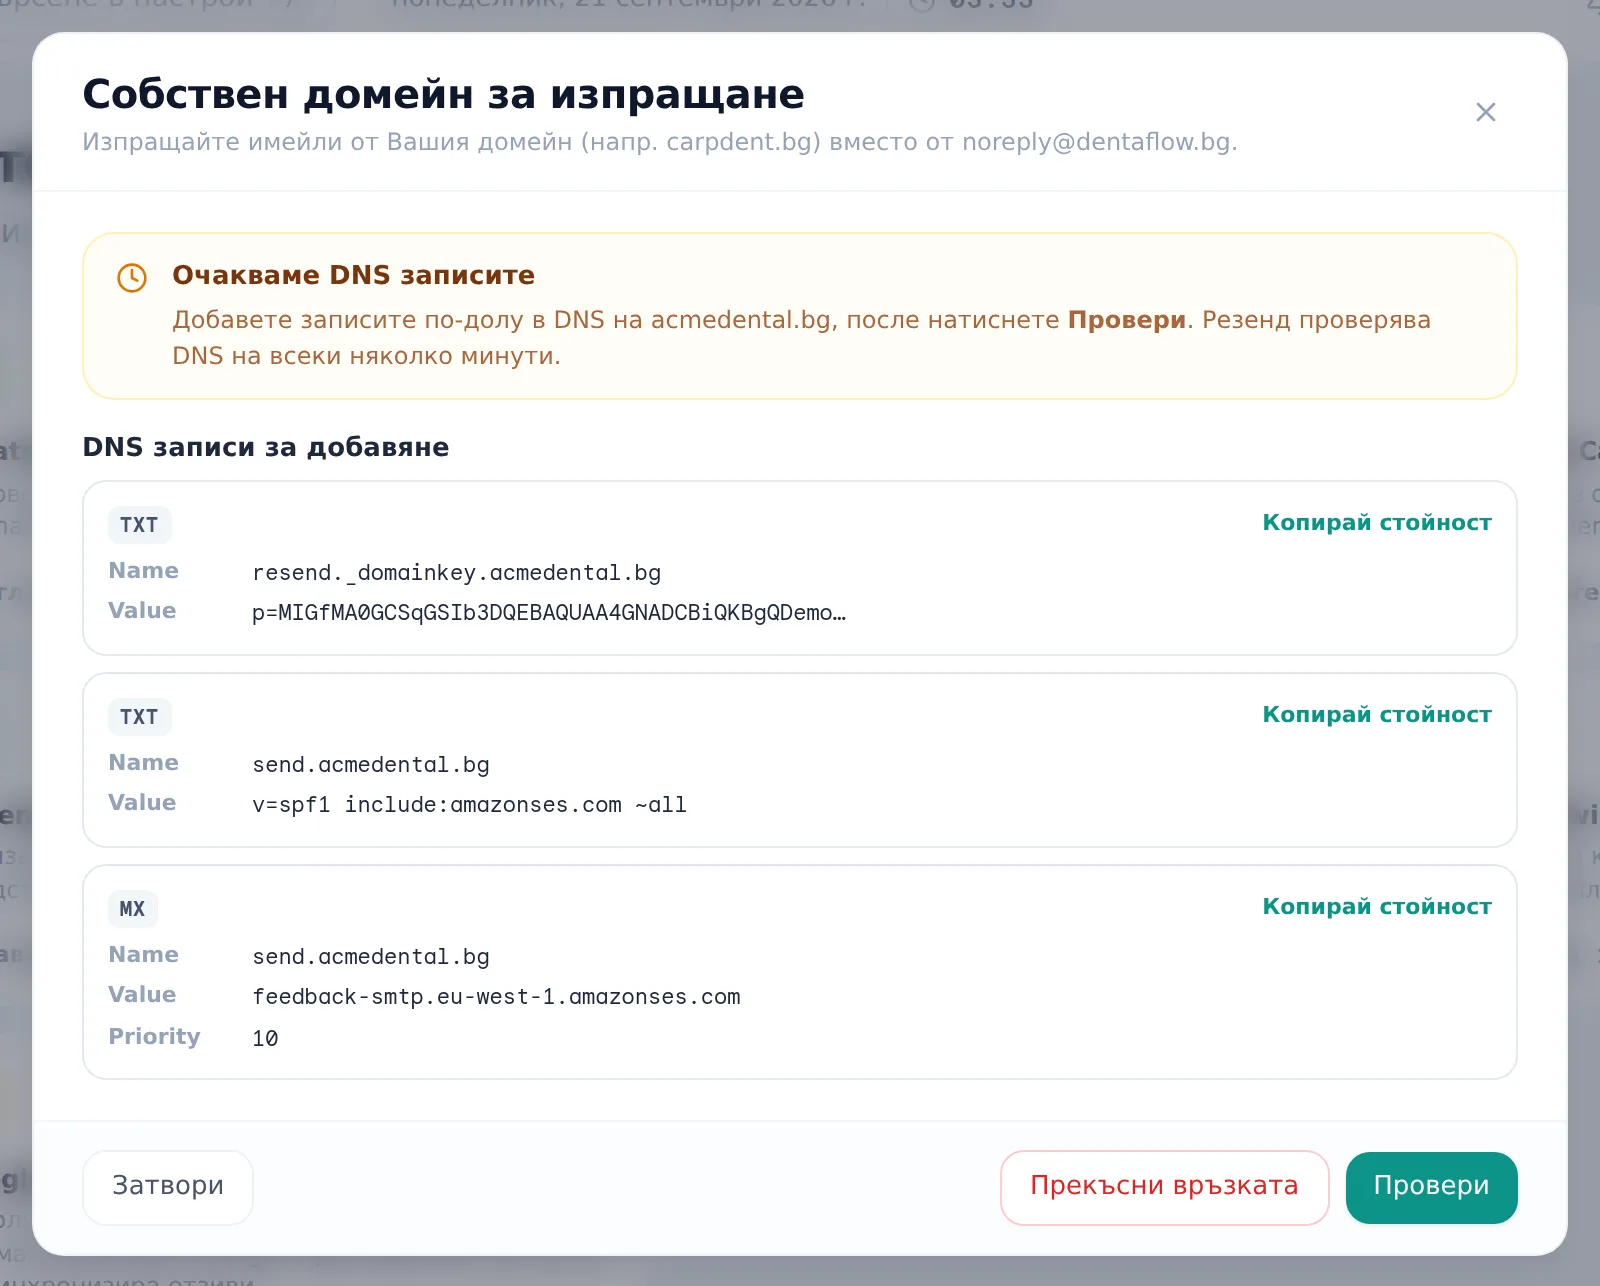
your-clinic.com) in the Your domain (Вашият домейн) field, then click Register domain (Регистрирай домейн). - Add the DNS records (type, value, and priority/TTL where given):
- If the domain’s DNS is managed by DentaFlow (for example the website domain DentaFlow hosts for you), the records are added automatically when you register. If any are missing, click Add the records automatically (Добави записите автоматично) or Try again (Опитай отново); the window shows which records are missing.
- For any other domain, add the records shown at your DNS provider (e.g. GoDaddy, SuperHosting, Cloudflare) — the Copy value (Копирай стойност) button next to each record makes this easier.
- Each record shows its own status: Verified, Checking, Not checked, Failed or Temporary failure. While the window is open it re-checks by itself every 30 seconds; Verify (Провери) asks Resend right away. The status moves from “Waiting for DNS records” to “Your domain is verified”. If Resend can’t find the right values you see “Resend could not confirm the records” — fix the records at your DNS provider and click Verify again.
- Once verified, set the address before the ”@” in the Sending address (before @) (Адрес за изпращане (преди @)) field (default
noreply; common values:office,appointments,reminders) and click Save (Запази).
Until you connect a custom domain, every automatic email (appointment confirmations, invoices, reminders) goes out from a shared DentaFlow address instead of your own domain. The wording of those emails is edited separately in Email templates — this section only controls the “From” address, not the copy.
The other cards in Integrations
- Resend (email) („Resend (имейл)“) — shows the status of transactional email (confirmations, invoices, plan presentations). The sender address is changed from the Sending domain card (the part before @).
- Google Reviews — review link („Google Reviews — линк за отзив“) — takes you to Settings → Smart review. The “Link active” badge means a Place ID is set: every patient who rates their visit gets a direct link to Google’s review form. DentaFlow does not read or sync reviews.
- SMS — informational only: it shows what works today and what is planned.
Frequently asked questions
Does Google Calendar import events back into DentaFlow? No. Sync is one-directional — from DentaFlow to Google. An event created directly in the doctor’s personal Google Calendar doesn’t block a slot in DentaFlow.
Why can’t I connect Stripe even though I’m signed in? Only the Admin role can connect or disconnect Stripe — the server refuses the action for any other role, even if the button is visible.
Can the clinic send deposits without its own Stripe account? No. Deposits always go through the clinic’s own Stripe account, never a shared DentaFlow account — connecting a restricted key is a required first step.
What happens if I change the domain’s DNS records after it’s verified? Email delivery stops. If that happens, click Disconnect (Прекъсни връзката) in the “Custom sending domain” window and set it up again from scratch with a new domain. After disconnecting, email goes out from noreply@dentaflow.bg again.
If I haven’t set up a custom domain yet, what do patients see? They see noreply@dentaflow.bg as the sender — the app works normally without a connected domain; a custom domain is optional, for better recognition and higher deliverability.