Quick start: set up your clinic
This article is a checklist for setting up a new clinic in DentaFlow — from first login to being ready to book patients. Each item links to a detailed guide with steps and real screens. It’s written for the Admin role — only Admin can actually save changes in most of the sections listed here (Front Desk can see Settings (Настройки) in the menu, but a save there is silently rejected by the system). The app screenshots below show the Bulgarian interface.
At a glance
- You sign in through the magic link emailed after payment, not by registering inside the app.
- Clinic profile (details, language, currency, hours) and Modules are the first two stops in Settings (Настройки) (open it from the account menu at the top right → Settings).
- The dashboard has a Set up your clinic („Настройте Вашата клиника“) checklist that tracks the same steps and ticks itself off.
- Invite your team, build the services catalog and, if you’re bringing patients from another system, import them from CSV/Excel.
- Branding (logo and colors) is optional but shows up in the app, documents and emails.
- The order below is a suggestion, not a requirement — almost everything can change later without losing data.
The setup checklist
- Sign in via the emailed link (Влезте през връзката от имейла) after paying on dentaflow.bg and complete the setup wizard (name, optional password, whether you’re a practicing doctor). Details: Signing up & first login.
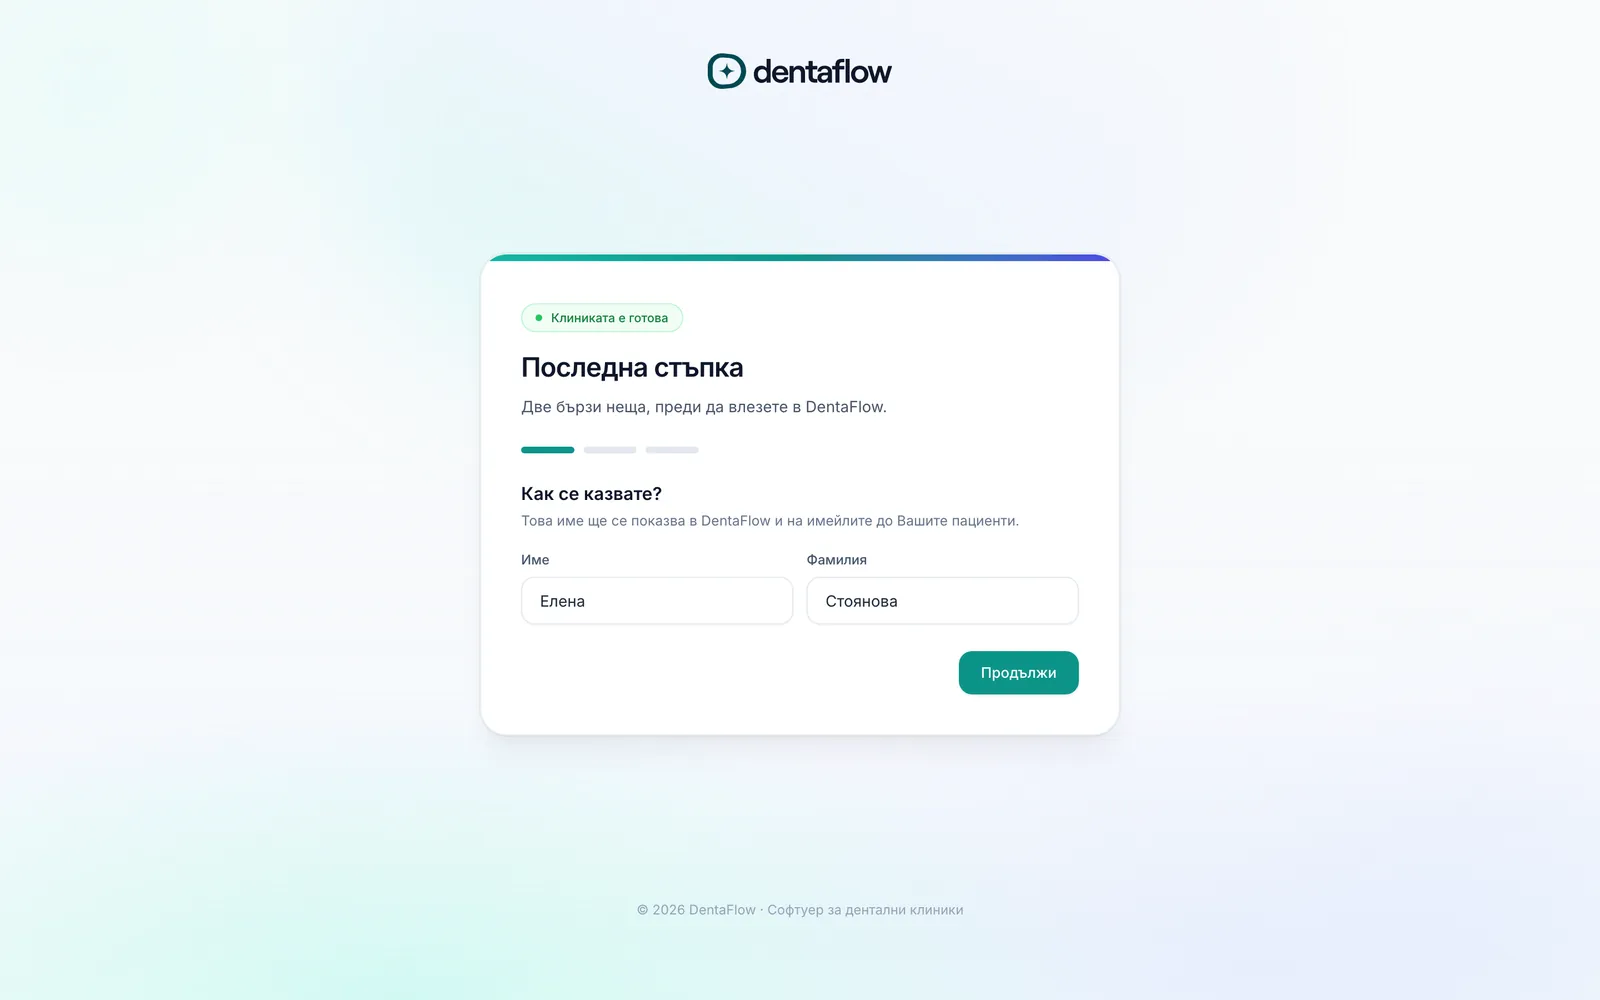
- Fill in the clinic profile (Профил на клиниката) — under Settings → Clinic profile (Настройки → Профил на клиниката): name, phone, address, legal invoicing details, interface language and settlement currency. Details: Clinic profile: details, language & currency.
- Set working hours (Работно време) — the clinic default on the same tab, plus each doctor’s individual schedule under Settings → Doctors & staff (Настройки → Лекари и персонал). Details: Working hours, vacations & closures.
- Turn on the modules you’ll use (Модули) — under Settings → Modules (Настройки → Модули): online booking, patient portal, treatment plans, waitlist and more. Some modules are off by default (SMS reminders, private health insurance, patient documents, informed consent, AI assistant and AI booking chat) — you switch those on yourself. A disabled module hides the feature but never deletes its data.
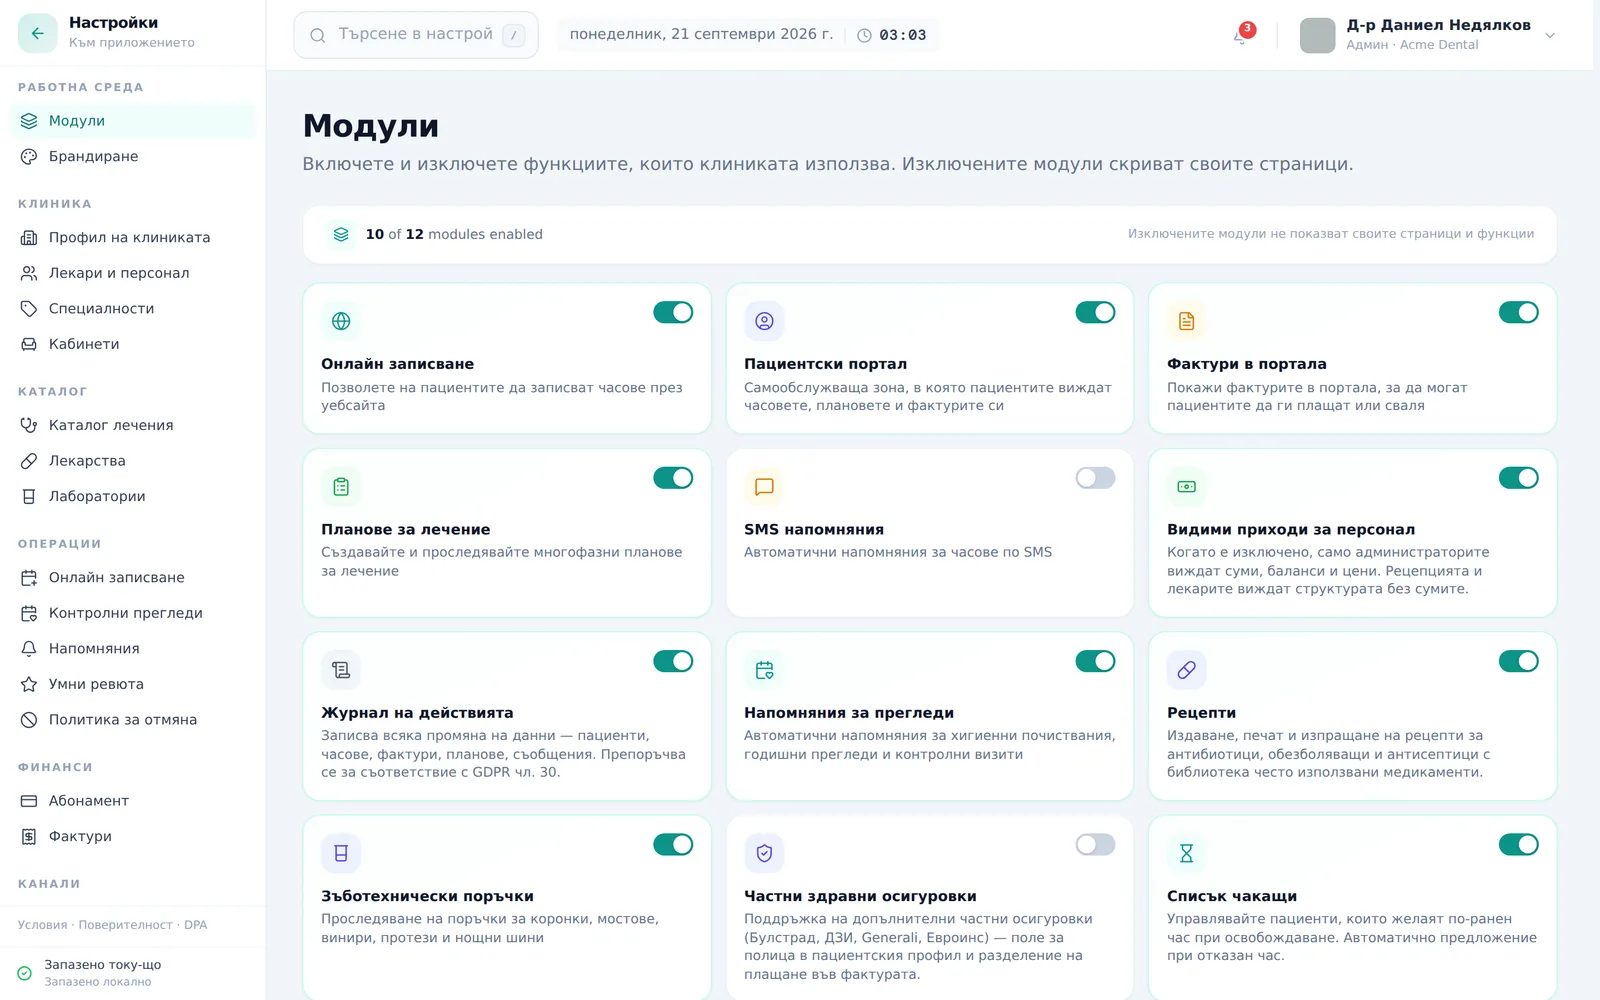
Details: Workspace modules: turning features on & off.
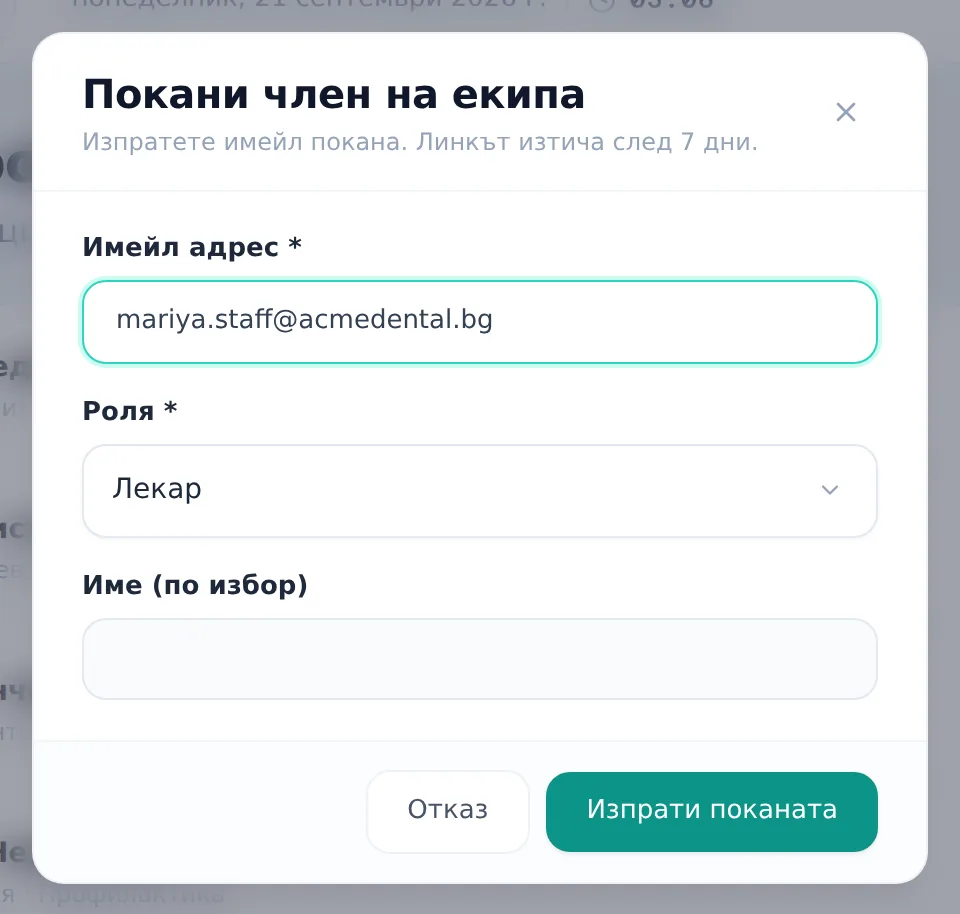
- Invite your team (Поканете екипа си) — under Settings → Doctors & staff → Invite team member (Настройки → Лекари и персонал → Покани член на екипа), pick a role (Admin / Front Desk / Doctor). Details: Inviting your team.
- Build the services catalog (Каталог с услуги) — under Services (Услуги) (or Settings → Treatment Catalog (Настройки → Каталог лечения)): name, price, duration and the required КСМП procedure code. Details: Services & price list.
- Import your existing patients (Импортирайте пациентите си) if you’re migrating from another system — CSV or Excel with automatic column matching. Details: Importing patients from CSV/Excel.
- Add your logo and colors (Добавете лого и цветове) — under Settings → Branding (Настройки → Брандиране), optional but visible in the app, documents and emails. Details: Branding: logo & colors.
The dashboard checklist
Until setup is finished, the dashboard shows a Set up your clinic („Настройте Вашата клиника“) card with eight steps: Clinic profile („Профил на клиниката“), Working hours („Работно време“), First doctor („Първи лекар“), Services & pricing („Услуги и цени“), Branding & logo („Брандиране и лого“), Import patients („Импорт на пациенти“), First appointment („Първа резервация на час“) and Invite the team („Поканете екипа“). Steps tick off automatically once the data is in; each one links to the right screen through a Start („Започнете“) / Set up („Настройте“) button. The last four (branding, import, first appointment, team) can be skipped with Skip („Пропусни“). You can collapse the card (Collapse checklist „Сгъни чеклиста“), hide it with Hide checklist („Скрий чеклиста“) — a button stays in the top bar so you can pin it back — and it disappears by itself once all eight steps are done.
Frequently asked questions
Where do I start once I’ve paid for the subscription? Check your inbox for the magic-link email and click “Влез в DentaFlow” (Sign in to DentaFlow). There’s no in-app registration — the clinic is created automatically once payment goes through. See Signing up & first login.
Why can’t I save changes to the clinic profile? Only the Admin role can save changes in that section — Front Desk can see every field, but the save is silently rejected by the system (“Не успяхме да запазим” / “Could not save”). Check which account you’re signed in as.
Do I have to do everything on this list at once? No. The order above is a suggestion, not a requirement. Modules can be turned on and off at any time, and disabling one never deletes data you’ve already entered.
Can I put off inviting my team? Yes — you can add doctors and invite new colleagues at any time from Settings → Doctors & staff (Настройки → Лекари и персонал), even after you’ve already opened booking to patients.
If we’re not an NHIF clinic, should I skip anything on this list? Setting up an NHIF contract is a separate topic and isn’t part of this checklist — see NHIF: contract setup if and when it becomes relevant to you.